Leaderboard


Popular Content
Showing content with the highest reputation since 07/01/2026 in all areas
-
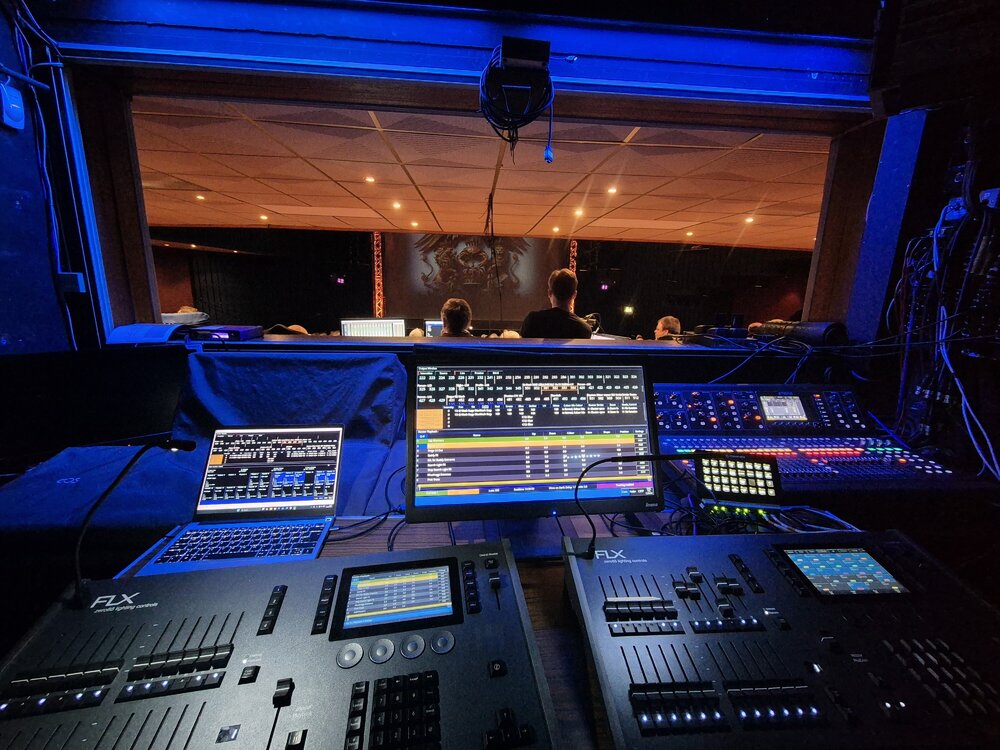
Not sure really! I was running two switches, three Art-Net Nodes, one Wi-Fi AP, one Stream Deck, and a local laptop networked in for running ZerOS Monitor. Vari-Lite email support could only offer the suggestion that it would have been due to an unstable network. There could be some mileage in that as my laptop did occasionally drop connection to ZerOS Monitor. Anyway, its all over and done with now, I never ran them in tracking, however was ready to rapidly connect in the backup ethernet cable if my primary desk crashed during a show, which it didn't (hooray!) Pic for prosperity - stuck at the back of the box behind the venue desks - main sound FOH, running audio feeds into venue mixer
 2 points
 -
@Archie D has made this assumption because you have posted in FLX S. If you actually have a full FLX then recording a macro that is then triggered by OSC would be the way to go. However, all may not be lost if you are really on FLX S. You could record a cue that releases playbacks (see manual here) and then trigger that from OSC. A similar cue could also trigger all the cues you want to run. I'm not sure of the timings (whether releases are done before or after triggers) but you could even try putting all your releases and triggers on the same cue.1 point
